
SMS and WhatsApp Configuration in Nama ERP
Nama ERP supports sending messages via SMS and WhatsApp to users, customers, suppliers, and other entities. To enable this feature, configure the appropriate settings from the Global Configuration screen.
SMS Provider: SMS Misr (smsmisr.com)
- SMS Provider:
SMS Misr - Sender Token: Obtain from smsmisr.com/Client/senderid
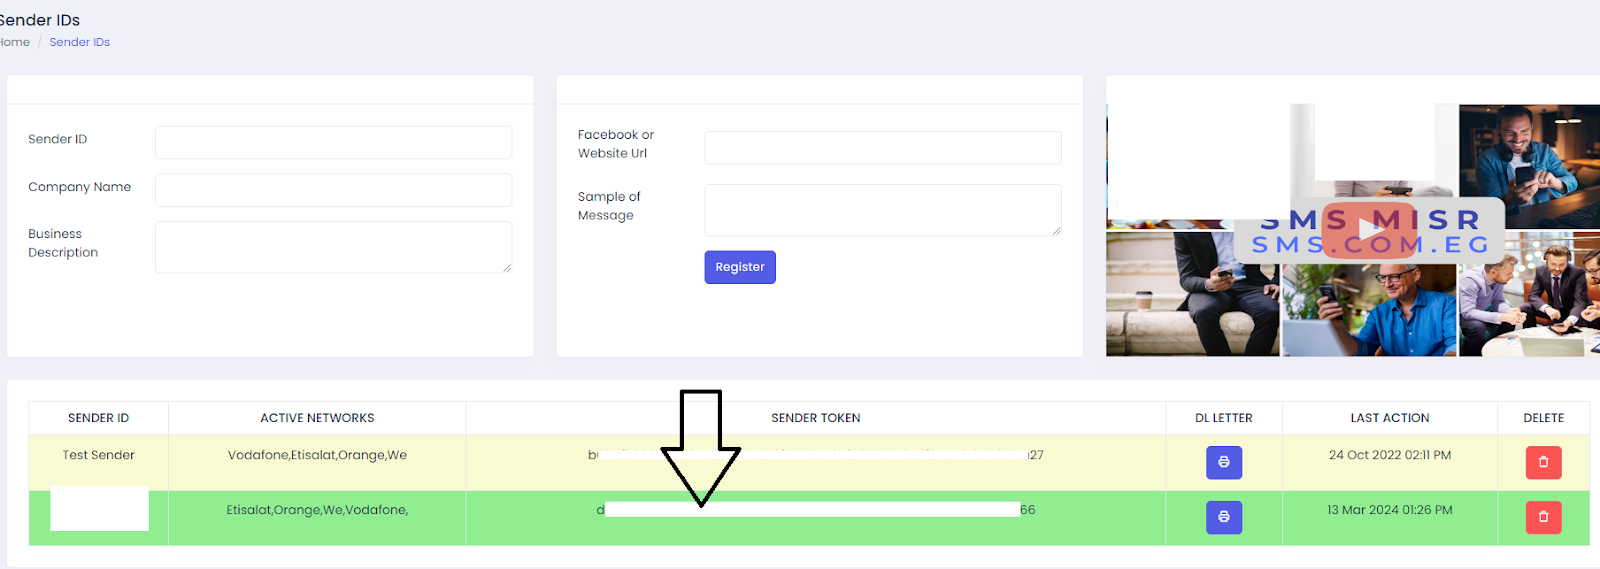
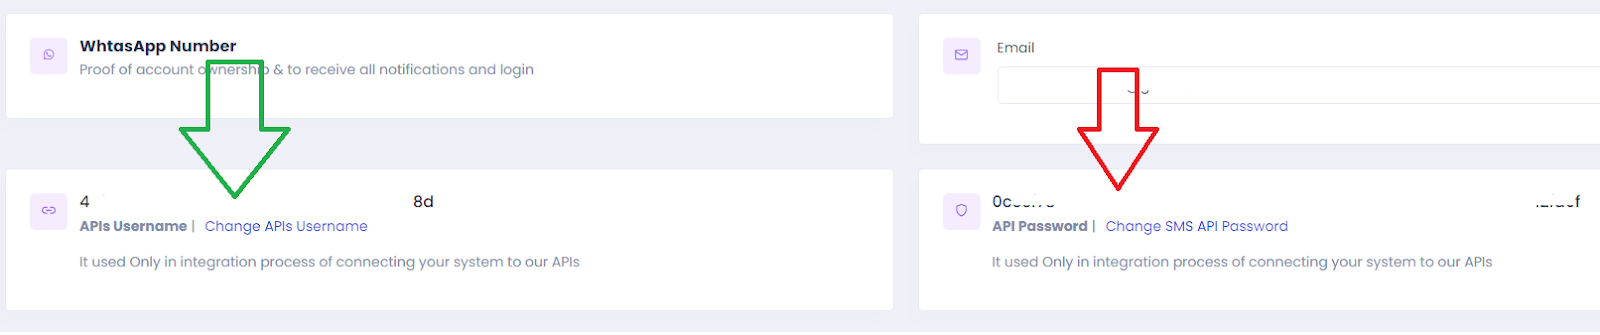
- API Username and API Password: Get them from smsmisr.com/Client/Settings
SMS Provider: Taqnyat (taqnyat.sa)
- SMS Provider:
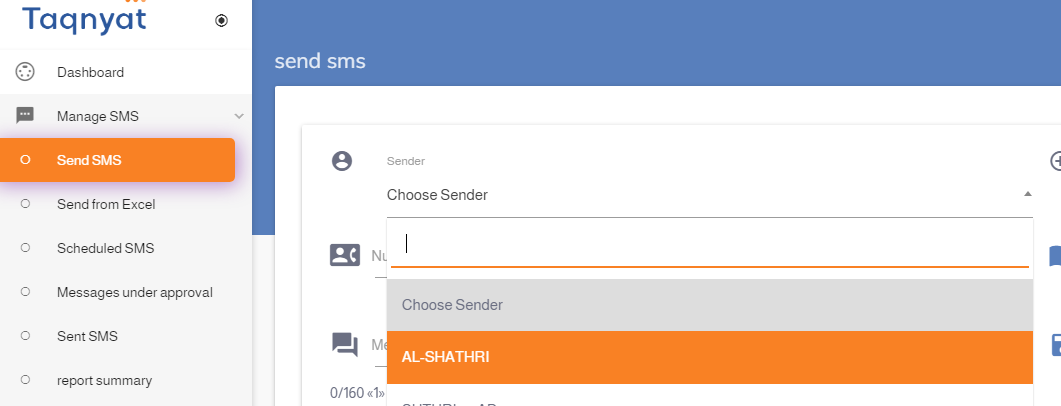
Taqneyat - Sender: Visit portal.taqnyat.sa, go to Send SMS, and copy the sender name from the dropdown list.
TIP
💡 Use Chrome's Inspect Tool to accurately copy the value.
- Password (Bearer Token): Go to Developers > Application, click the ➕ icon, provide a name, then click the ✔️ mark. Copy the resulting Bearer Token.

SMS Provider: Vodafone Egypt
SMS Provider:
Vodafone EgyptUser Name: Account ID
Password: API Password
Sender: Sender Name
Other Settings: Secret Key
Correction Query (to ensure correct phone format):
sqlselect case when {to} like '2%' then {to} else concat('2',{to}) end
TIP
✅ After saving the configuration, Nama ERP will be able to send notifications and messages via the selected provider. Make sure credentials and sender IDs are valid and verified with the provider.
WhatsApp Integration
WAAPI.app WhatsApp Integration
To enable sending messages via WhatsApp using the waapi.app platform, follow these steps:
Setup Steps
- Create an Account and Link WhatsApp
- Create a new Instance on waapi.app
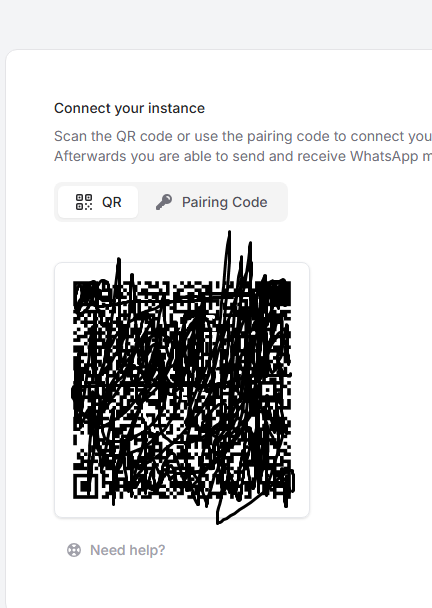
- Log in to WhatsApp by scanning the QR code
TIP
⚠️ You **must** scan the QR code using the phone that has the active WhatsApp account.
- Get the API Token
- Go to the API Tokens page
- Enter a suitable name, then click "Create"
- The Token will be displayed in a popup window — copy it and place it in the Password field in Nama settings
- Get the Instance ID
- Go to the Instances page
- Copy the Instance ID
- Place it in the Username or Other Settings field in the SMS settings in Nama

Nama ERP Settings
In the SMS settings screen:
- Provider:
waapi.app WhatsApp Integration - Username or Other Settings: Instance ID
- Password: Token
WhatsApp Integration Using ultramsg.com
To send WhatsApp messages from Nama ERP using ultramsg.com, follow these steps:
Step 1: Create and Link the Instance
- Log in to the UltraMsg Dashboard.
- Create a new Instance and link it to your WhatsApp account by scanning the QR code.
Step 2: Access the Instance Settings
- After linking, go to the UltraMsg User Panel.
- Select your Instance, then click Manage.

Step 3: Get the Instance ID and Token
You will find the Instance ID in the browser URL, for example:
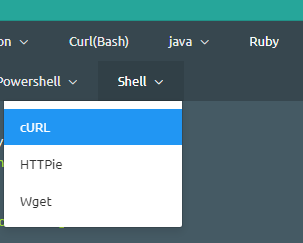
https://user.ultramsg.com/app/instances/instance.php?id=103251In this example, the Instance ID is103251.From the API testing section, select Shell (cURL) to view a usage example.
- Copy the Instance ID and Token from the displayed form.
Step 4: Configure in Nama ERP
- Use the Instance ID as the Username or service identifier.
- Use the Token as the Password for authentication.
WaPilot WhatsApp Integration
To enable sending WhatsApp messages from Nama ERP using wapilot.net, follow these steps:
Setup Steps
Create an Account and Link WhatsApp
- Create an account on app.wapilot.net
- Create a new Instance and link it to your WhatsApp account by scanning the QR code
Get the Instance ID
- From the dashboard, go to the Instances list
- Copy your Instance ID
Get the API Token
- From the account settings or API page, create or copy the API Token
Nama ERP Settings
In the WhatsApp message settings screen:
- Provider:
WaPilot - Username (Public ID): Instance ID
- Password (Secret): API Token
TIP
WaPilot can also be used as an SMS provider through the SMS settings screen, where messages are sent via WhatsApp instead of traditional SMS.
Sending WhatsApp from Employee Phones (Dynamic Sender)
This feature allows sending WhatsApp messages from employees' phones instead of a single fixed number. For example, when the system sends a message to a customer, the message can appear from the phone number of the sales representative responsible for that customer, allowing the representative to follow up on the conversation directly from their personal phone.
TIP
This feature is available for all WhatsApp service providers supported in the system.
Setting Up Multiple Numbers in WhatsApp Settings
In the WhatsApp Message Settings screen, there is a Public IDs by Sender table that allows you to define multiple numbers (Instances) for the same settings:
| Field | Description | Required |
|---|---|---|
| Sender ID | Sender identifier (such as phone number or employee code) | Yes |
| Public ID | The Instance identifier for this number | Yes |
| Secret | The secret key — can be left empty to be read from the main field | No |
TIP
If the Secret field is left empty in any row, the system will use the value in the main (Secret) field in the screen header.
Setting the Preferred Sender in Notifications and Approvals
In the Notification Definition or Approval Definition screen, there is a WhatsApp Preferred Sender field that supports Tempo syntax for dynamic values.
Examples of Preferred Sender Syntax:
| Syntax | Description |
|---|---|
{salesRep.mobile} | Phone number of the sales representative linked to the record |
{createdByUser.mobile} | Phone number of the user who created the record |
{customer.accountManager.mobile} | Phone number of the customer's account manager |
How the System Works
- When sending a WhatsApp message, the system calculates the Preferred Sender value using Tempo syntax
- The system searches for this value in the Public IDs by Sender table
- If a match is found, it uses the Public ID and Secret from that row
- If no match is found, it uses the default values from the screen header
WaboxApp WhatsApp Integration
To enable sending WhatsApp messages from Nama ERP using WaboxApp, follow these steps:
Setup Steps
Register the Phone Number Register the company's WhatsApp number on a phone that is always connected to the internet. 💡 It is recommended to use an Android emulator such as www.memuplay.com for a permanent connection.
Create an Account in WaboxApp
- Go to www.waboxapp.com
- Create a new account (requires entering credit card details)
- Add the Phone Number to WaboxApp
- Go to https://www.waboxapp.com/manager/accounts
- Select Add New Phone Number
- Set Up the WaboxApp Chrome Extension
- Download the extension from the Chrome store
- Copy the API Key from the WaboxApp website into the extension, then click Validate
- Link WhatsApp Web
- Open web.whatsapp.com using the same Chrome browser that has the extension
- Scan the QR code from the phone
- Get Connection Credentials
From the WaboxApp dashboard, copy:
- API Token
- Phone number in international format (example:
201065122360instead of01065122360)
- Configure Nama ERP
Open the SMS settings screen
Add a new row and select the provider:
WaboxApp WhatsApp IntegrationEnter:
- Phone number in international format in the Sender or Username field
- API Token in the Password field
Important Notes
- The phone must be kept always on with a continuous internet connection.
- WhatsApp Web must remain open in the Chrome browser.
- If either side is closed, messages will not be sent.
- WaboxApp charges the credit card if you exceed 100 messages/month (sent or received).
- It is preferable to use this provider in the
Preferred Message Providerfield in notification and scheduled task settings. - Use the field
Used only if added in the preferred senderin the service provider settings (as in requestKKDRQ00577) to avoid always replacing the message provider with WhatsApp. - The phone number must be in international format, i.e. starting with the country code.