
Fingerprint Login in Point of Sale
Imagine you have several employees taking turns at the same POS terminal throughout the day. Instead of typing a username and password every time, the employee simply places a finger on the fingerprint reader and the system recognizes them automatically and logs them in. This feature makes switching between users faster and more secure.
How Does the Feature Work?
The system uses a fingerprint reader of the Digital Persona URU4500 type. When registering a new fingerprint, the system asks the user to place their finger 4 times to ensure recognition accuracy. After registration, the fingerprint is stored in the POS database and synchronized with the main server.
Whenever any screen appears that requires login credentials — whether the main login screen, the unlock window, or the security authorization window — the system automatically starts listening to the fingerprint reader in the background. As soon as the fingerprint is recognized, login happens directly without any manual input.
Requirements
Before using the fingerprint feature, you need to install the driver for the reader:
- Download the Digital Persona SDK from the following link:
https://github.com/iamonuwa/Digital-Persona-SDK/blob/master/SDK/Install/x64/Setup.exe - Install the software on the machine running the POS application.
- Connect the Digital Persona URU4500 fingerprint reader to a USB port.
WARNING
Make sure to install the SDK before launching the POS application. If the reader is not connected or the software is not installed, the message "No fingerprint reader available" will appear when attempting to register.
Setting Up the Feature
Step 1: Enable Fingerprint in POS Settings
- Open the POS Settings file (POSConfiguration).
- Enable the "Enable Fingerprint" option.
- Save the settings.
This option is the master switch — without enabling it, none of the fingerprint features will work in the system, and the menu's Fingerprint Enrollment entry refuses with this message:
Fingerprint is not enabled. Please check the option in POSConfiguration file. — «البصمة غير مفعلة. يرجى التأكد من أوبشن باسم تفعيل البصمة في إعدادات نقاط البيع»
Step 2: Grant the Fingerprint Enrollment Permission
Not every user should be able to enroll other users' fingerprints. That is why a dedicated permission was added to control this:
- Open the POS Security Profile (POS Security Profile) for the user or group.
- Enable the "CanEnrollFingerprints" permission.
- Save the file.
TIP
You can grant this permission only to supervisors or branch managers, making them responsible for enrolling the fingerprints of other employees.
Registering a New Fingerprint
After setup, authorized users can enroll new fingerprints. The process is done directly inside the POS application:
- Open the side menu.
- Go to "Actions".
- Select "Fingerprint Enrollment".
The enrollment window will appear, containing:
Selecting the User
- In the "User" field, choose the user whose fingerprint is to be enrolled.
- Once the user is selected, the system displays the previously enrolled fingerprints for that user (if any), along with the date of each fingerprint and its attached remarks.
- You can delete any old fingerprint by clicking the (✕) button next to it.
Adding a Remark
- In the "Remarks" field, add a description to help the user remember the fingerprint — for example: "Right index finger" or "Left thumb".
Starting Enrollment
- Click the "Start Enrollment" button.
- The system will ask you to place your finger on the reader 4 times.
- With each successful scan, one of the progress indicators turns green.
- If the scan quality is poor, the system asks you to try again without losing the previous successful scans.
- After all four scans are complete, the message "Fingerprint enrolled successfully!" appears.
Buttons on the enrollment window
| Button | Arabic caption | What pressing it does |
|---|---|---|
| Start Enrollment | «بدء التسجيل» | Starts listening to the reader for the four scans. With no user chosen it stops with Please select a user first («يرجى اختيار المستخدم أولاً»). |
| Retry | «إعادة المحاولة» | Takes the place of Start Enrollment when an enrollment fails: starts the four scans again from the beginning. |
| Done | «تم» | Takes the place of Start Enrollment after a successful enrollment: closes the window. The new fingerprint is already saved. |
| Cancel | «إلغاء» | Stops listening to the reader and closes the window. |
| ✕ | ✕ | Beside a fingerprint in the existing list: deletes that fingerprint. |
INFO
You can enroll more than one fingerprint for the same user — for example, one fingerprint per hand. Each fingerprint is stored as a separate row with its own remarks and date.
Using Fingerprint to Log In
After enrolling fingerprints, the fingerprint recognition feature works automatically in three places:
Login Screen
When the POS application starts and the login screen appears, the system immediately starts listening to the fingerprint reader. Place your finger on the reader and the system recognizes you and logs you in directly — no need to type a username or password.
Unlock Window
When the screen is locked and the system asks for login credentials to unlock it, you can simply place your finger on the reader to unlock.
Security Authorization Window
When performing an action that requires a special permission (such as applying a discount or canceling an invoice), a window appears asking for the credentials of a user who has the required permission. Instead of entering the credentials manually, the supervisor can place their fingerprint directly on the reader.
TIP
In all three cases, the traditional login option (username and password) remains available. Fingerprint is an additional method, not a mandatory replacement.
Data Synchronization with the Server
Fingerprint data follows the same synchronization mechanism as other POS data with the main server:
- When a new fingerprint is enrolled or an existing one is deleted, the record is flagged as not sent (sent = false).
- The system automatically sends unsent fingerprints to the server within the regular synchronization cycle.
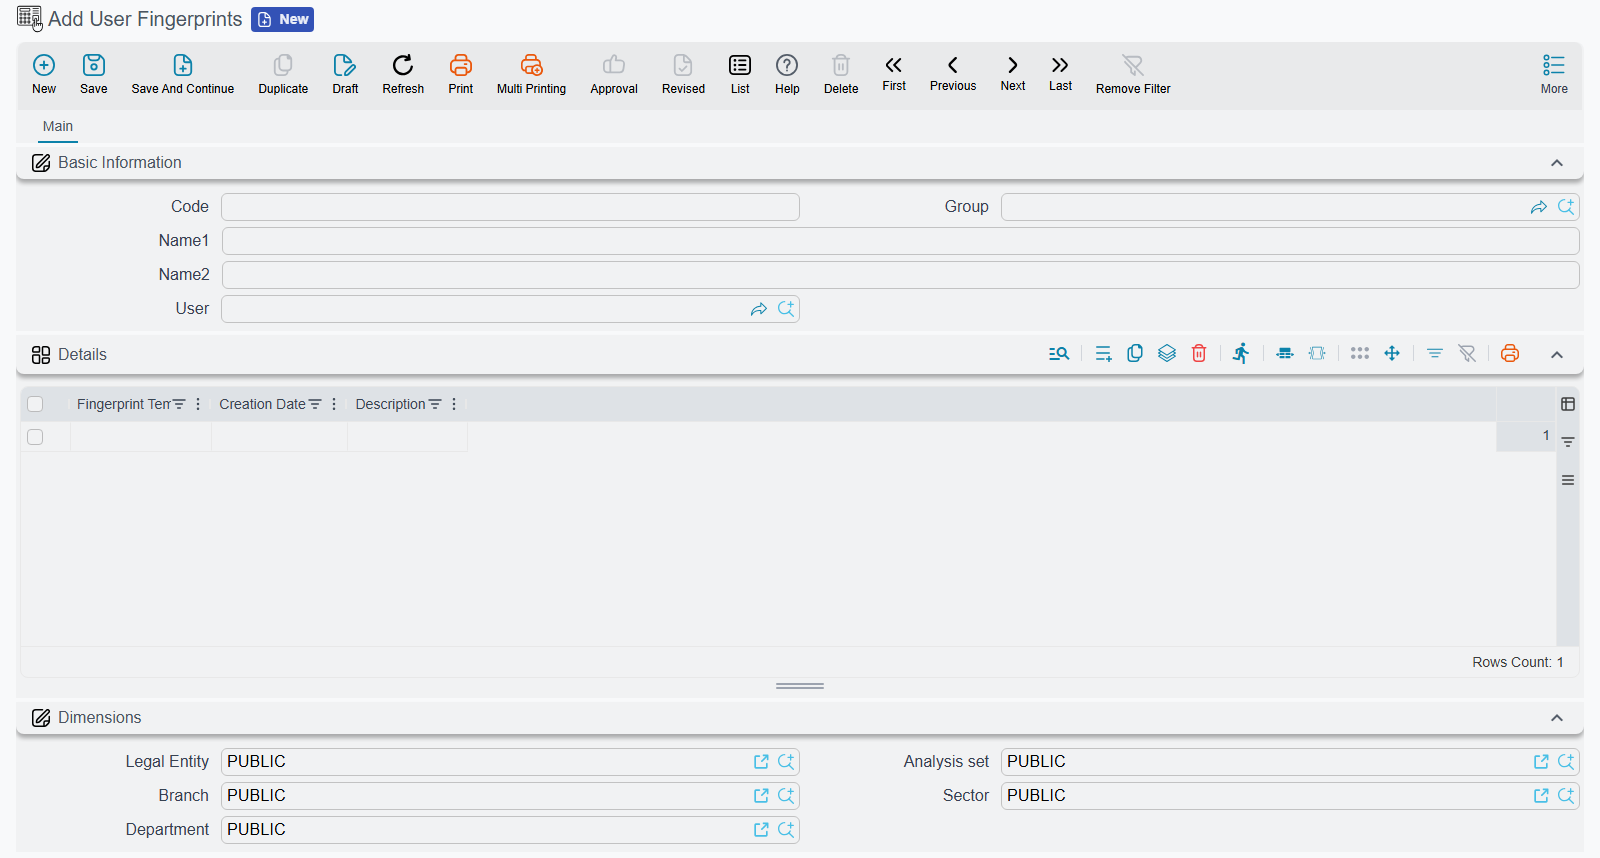
- On the server, fingerprints are stored in the "User Fingerprint" file within the core system — see User Fingerprints for that screen and for removing a fingerprint from every register at once.
- The fingerprint file ID is recorded in the Action History for tracking and auditing purposes.