
The Sales Invoice
The sales screen is where a cashier spends almost the whole day. It is built to do one thing very fast: turn a basket of goods into a paid receipt. This page is a tour of that screen and the everyday flow of ringing up a sale.
The layout
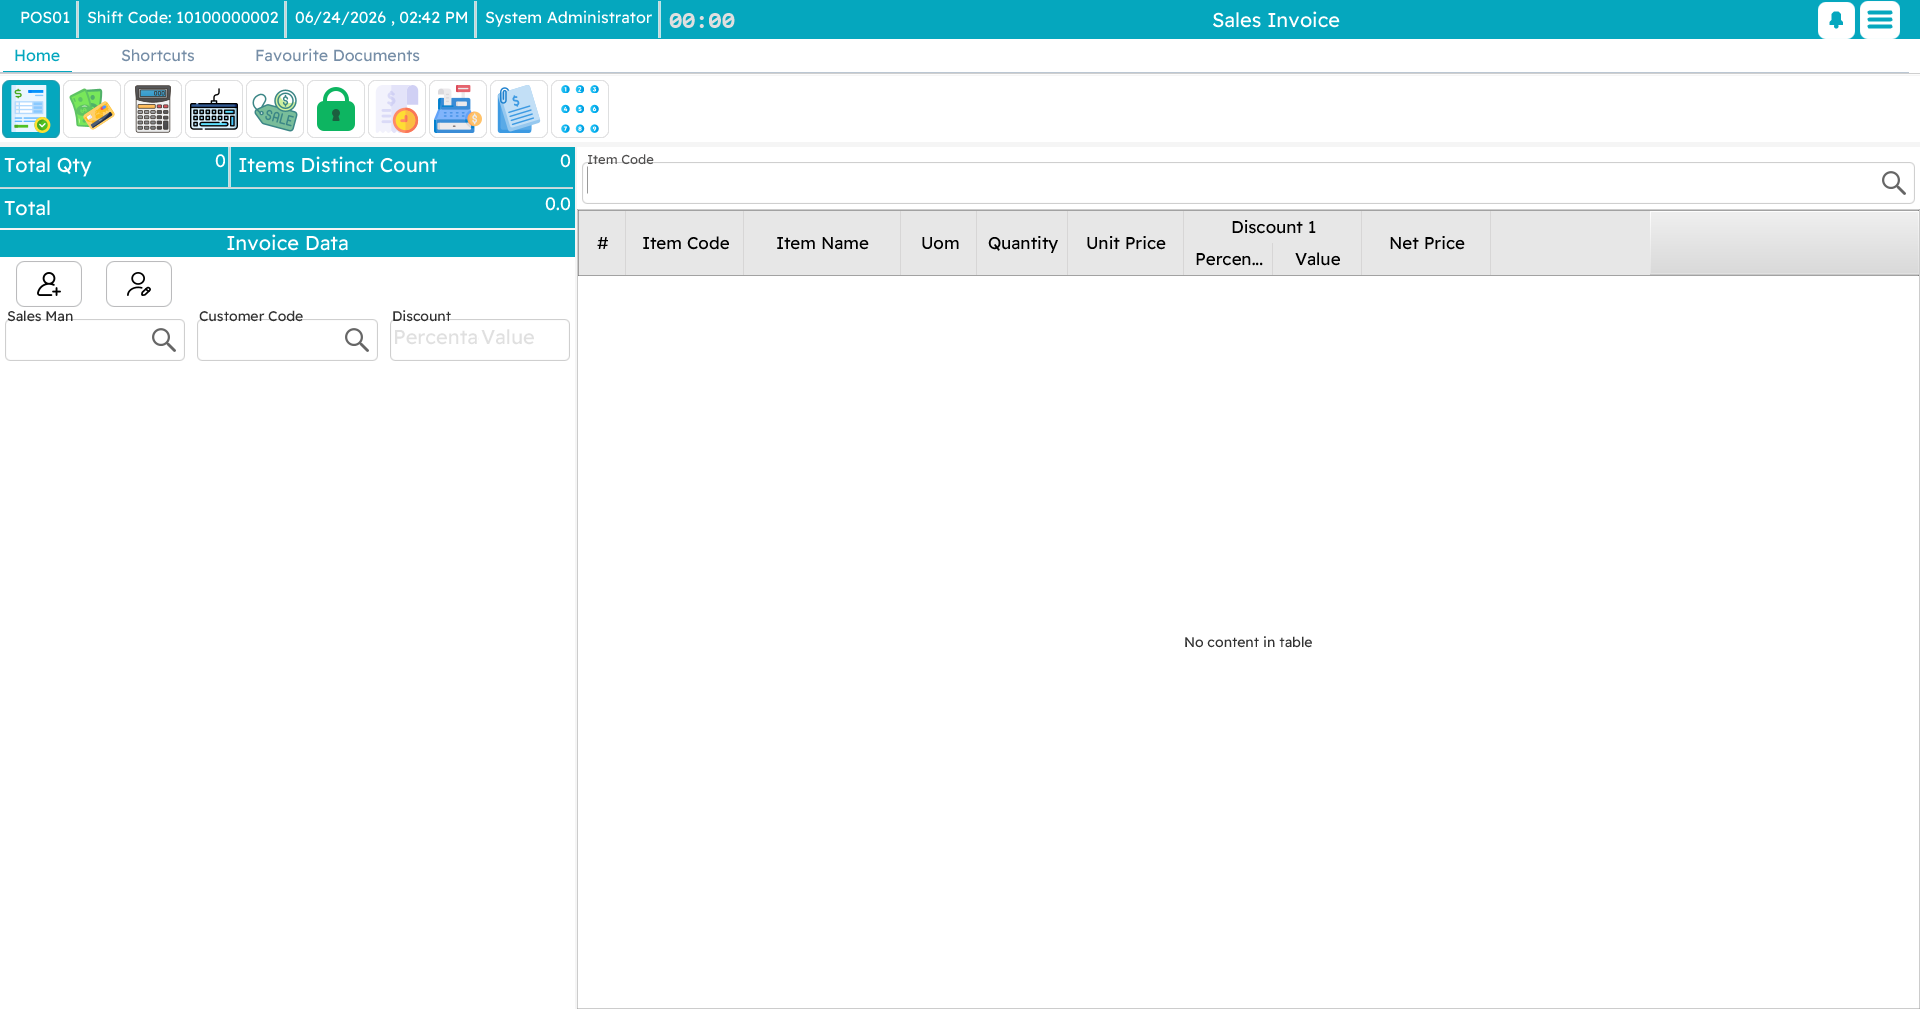
At first glance there is a lot on screen, but it settles into a few regions:
- The header, across the top, carries the invoice's own details — its code and date, the customer, the salesman, the warehouse, and any extra fields your business uses. A running summary (total quantity, number of distinct items, and the amount) updates as you go.
- The favourites panel, down one side, is a grid of quick buttons for the items you sell most. There is a small quantity box here and a search filter.
- The item-entry field is where you type or scan an item.
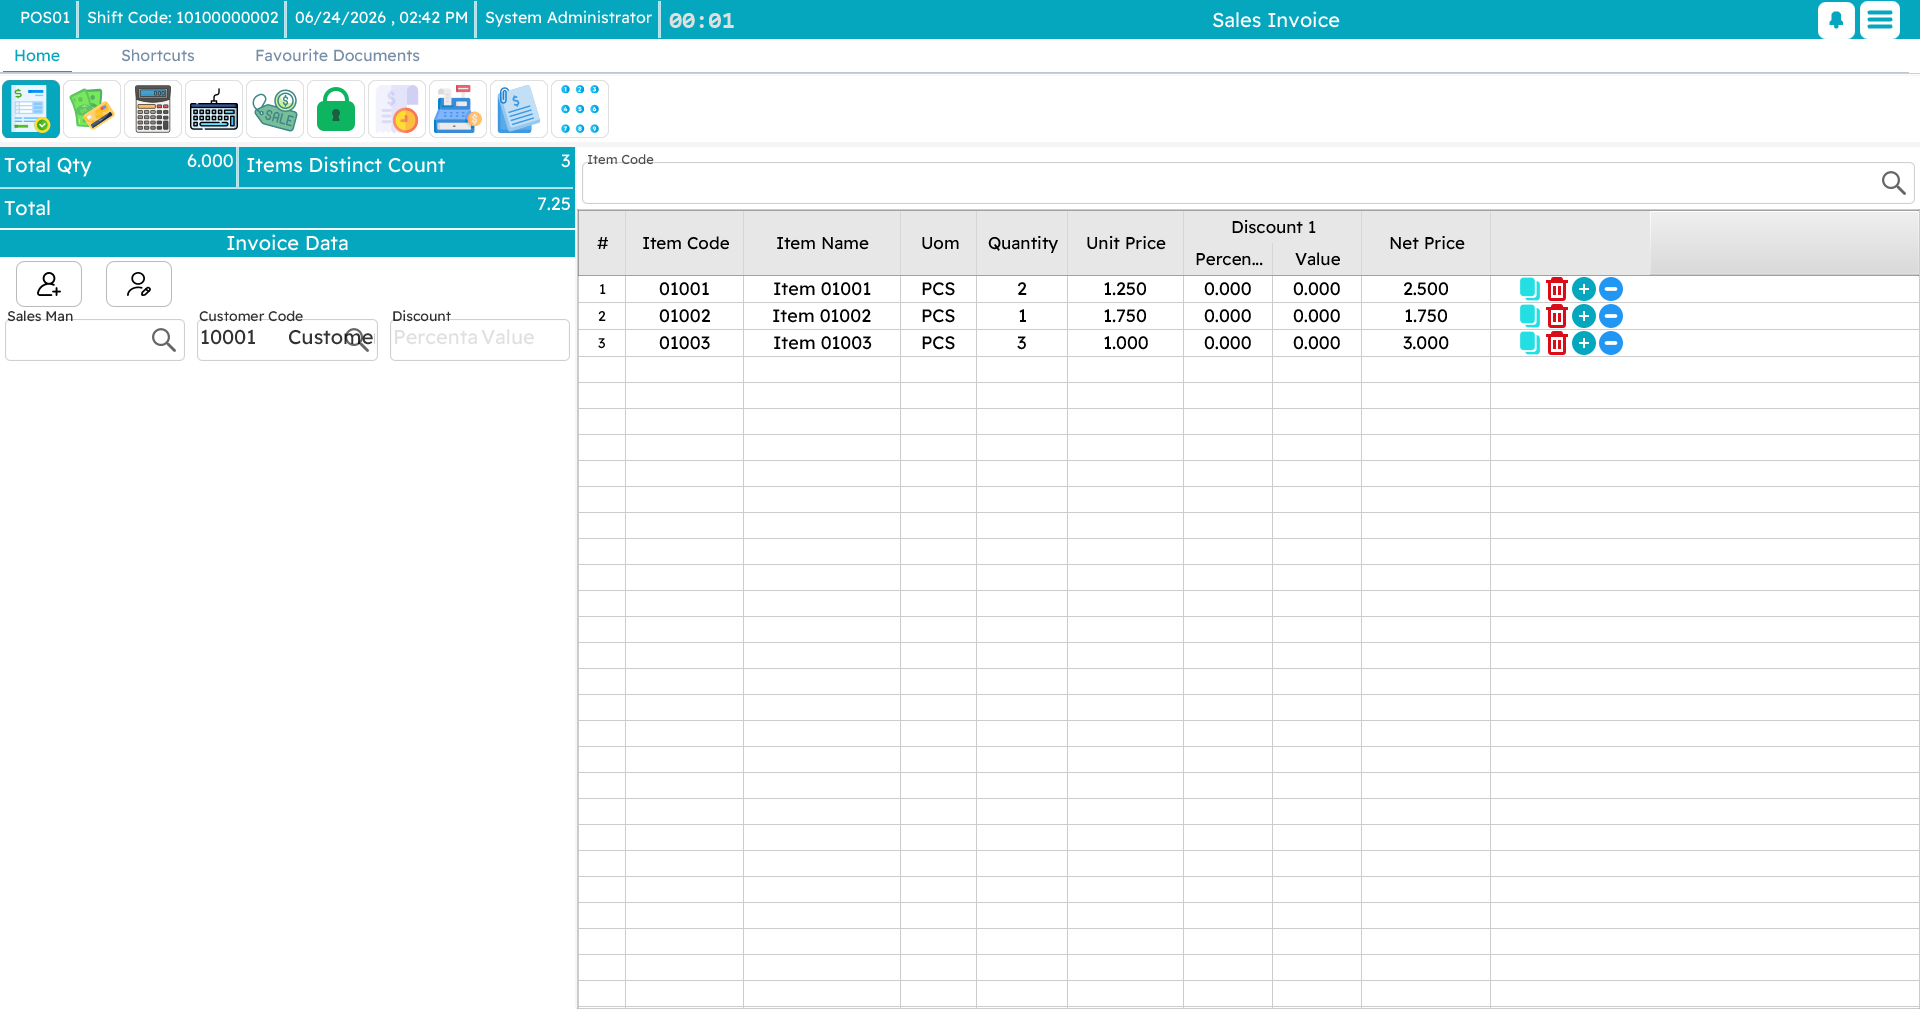
- The line grid fills the middle: one row per item, with its quantity, unit price, discounts, tax and line total.
- The totals panel sits to the side, showing the items value, the discounts, the tax, and the final net the customer pays.
A floating numeric keypad can be shown on top of all this for entering quantities and amounts without a hardware keyboard; drag it wherever suits you and its position is remembered.

Ringing up a sale
Start a new invoice
Press Alt+F1 (or pick New Sale from the menu). You get a fresh invoice with the cursor already in the item field, ready for the first scan.
Add items — four ways
Cashiers reach for whichever is fastest in the moment:
- Scan a barcode. The item drops in with quantity 1 and the field clears for the next scan. This is the bread and butter of the counter.
- Type an item code and press Enter — same result, for items without a barcode to hand.
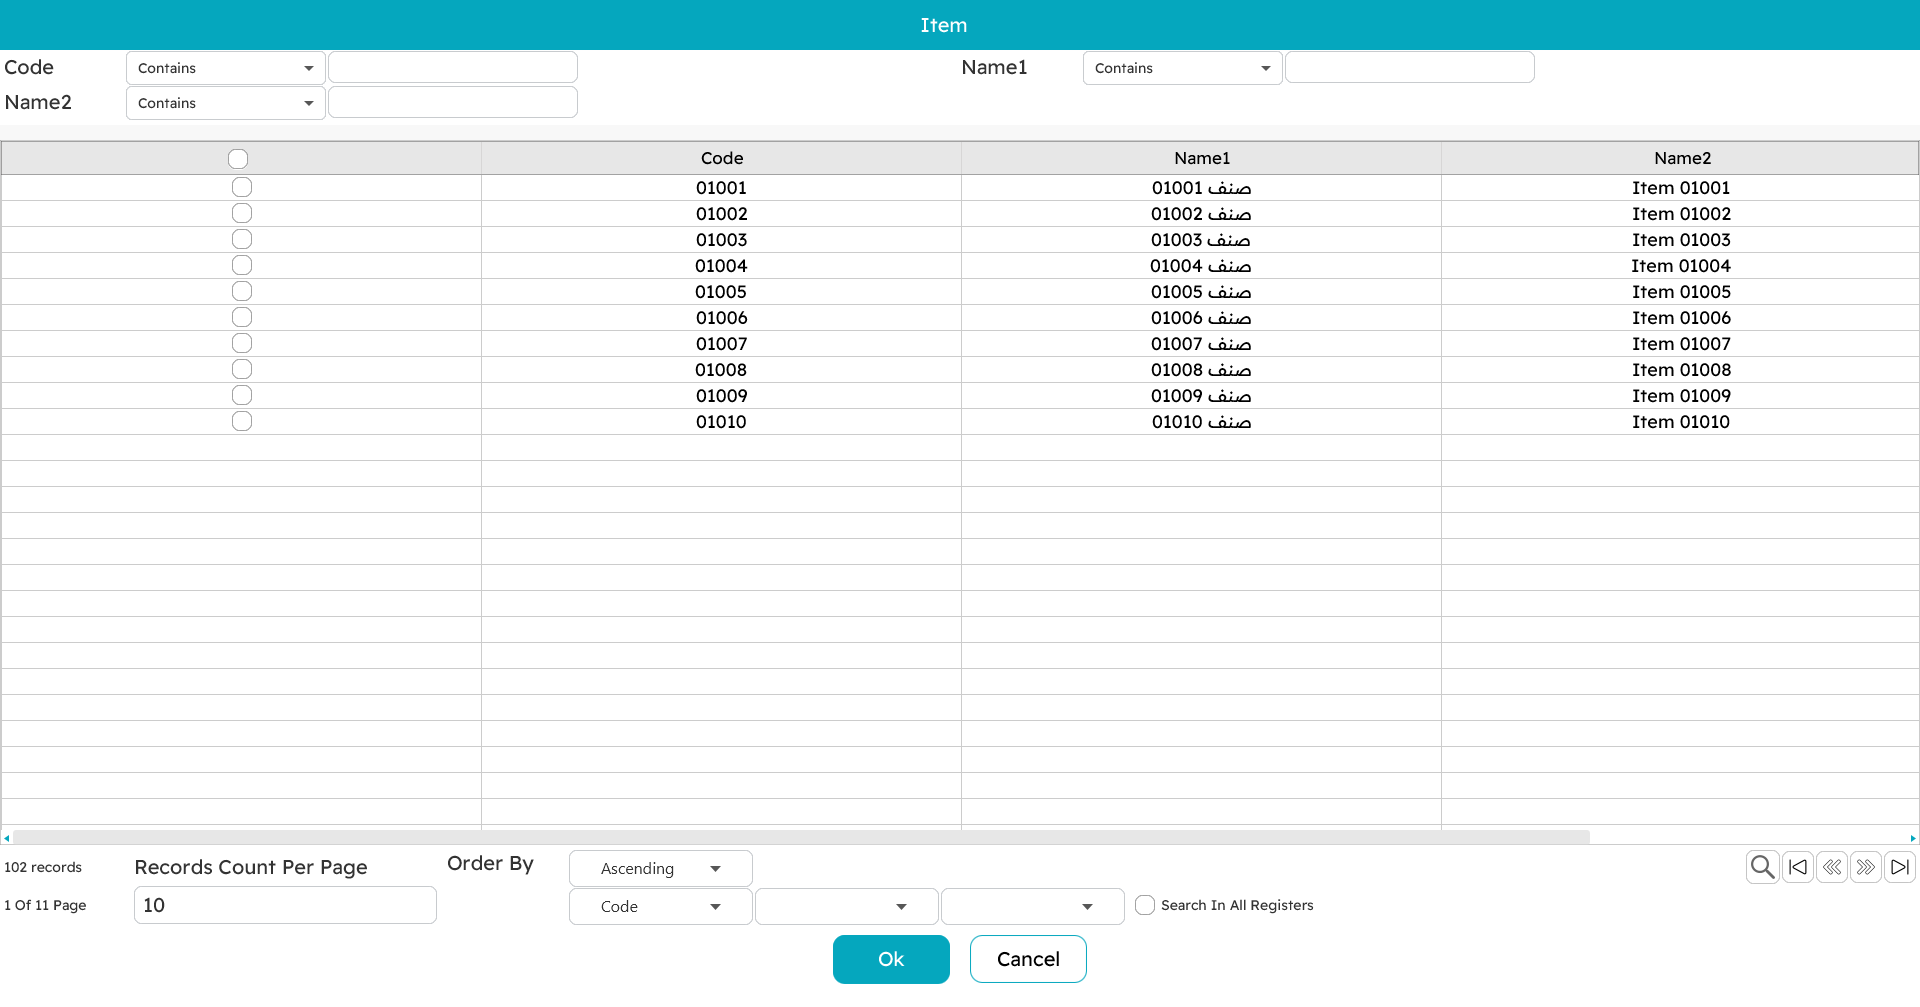
- Search by name. Type part of the name and pick from the list that appears. Handy when neither code nor barcode is at hand.
- Tap a favourite. On the favourites panel, tap the item's button. Use the breadcrumb to drill into categories (say, Drinks → Cold). To add several at once, type the number in the quantity box first, then tap the button.
Adjust a line
Click a line to select it, then:
- Change the quantity with
Ctrl+Q, which opens a small editor (it copes with fractional and weight quantities). - Edit the line's details — serial or lot numbers, expiry, a line remark, a reference — from the line's action buttons.
- Duplicate the line with
+when you need another identical unit with the same details. - Delete the line with
Ctrl+Del.

If an item carries add-ons — sizes, colours, or extras like sugar and milk — the add-ons dialog opens when you add it. That whole topic has its own page: Item add-ons.
Apply discounts
There are two levels, and they stack:
- Line discounts. Select a line and press
Alt+1throughAlt+8for up to eight discount levels, entering a percentage or a fixed amount. Whether a cashier may do this — and how deep — is governed by their permission. - Invoice discount. Press
F10to discount the whole invoice;Ctrl+F10removes it.
The totals panel recalculates the moment you change anything.
Set the customer
For a quick cash sale you often need no named customer at all. When you do:
- Press
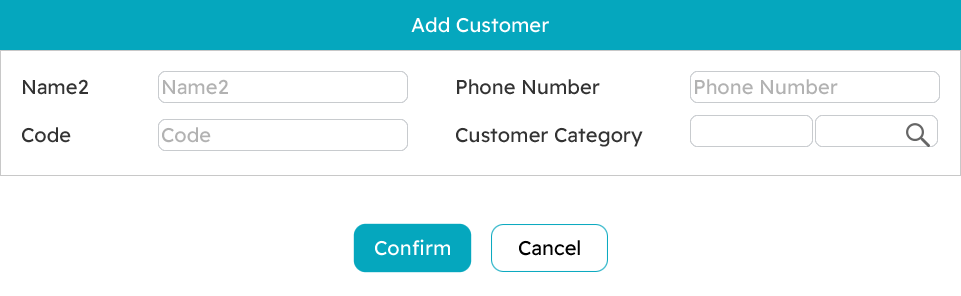
F7to pick an existing customer by code or name. - Press
Shift+F7to register a new customer on the spot without leaving the sale. - Press
Ctrl+F7to clear the customer off the invoice.
The customer brings their own pricing, credit terms and any loyalty along with them.
Handy tools while selling
Favourites. More than a convenience — for a fast counter they are the difference between keeping up with the queue and falling behind. Supervisors arrange them into categories so the common items are one tap away.
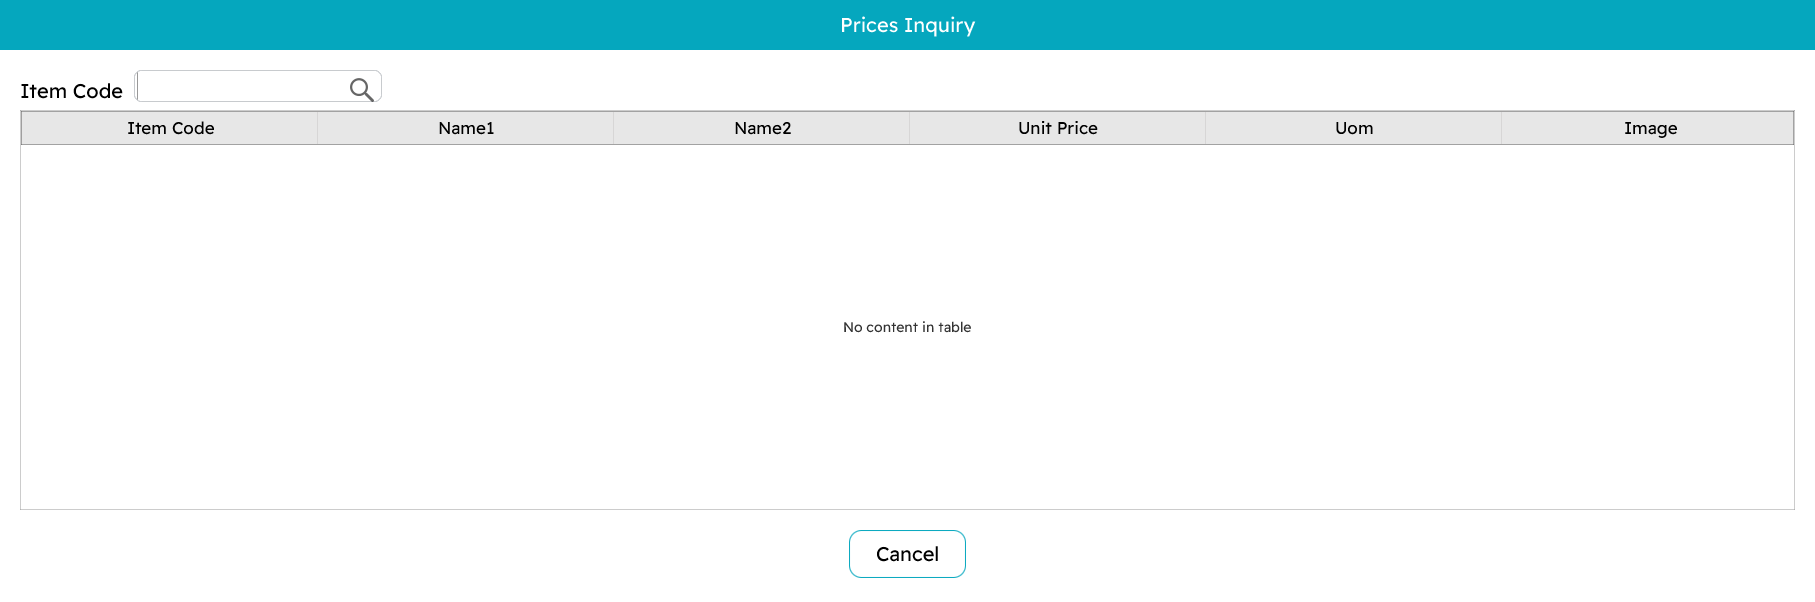
Price inquiry (Ctrl+F9). Check an item's price and units without disturbing the sale in progress — perfect for answering "how much is this?" over the counter or on the phone.
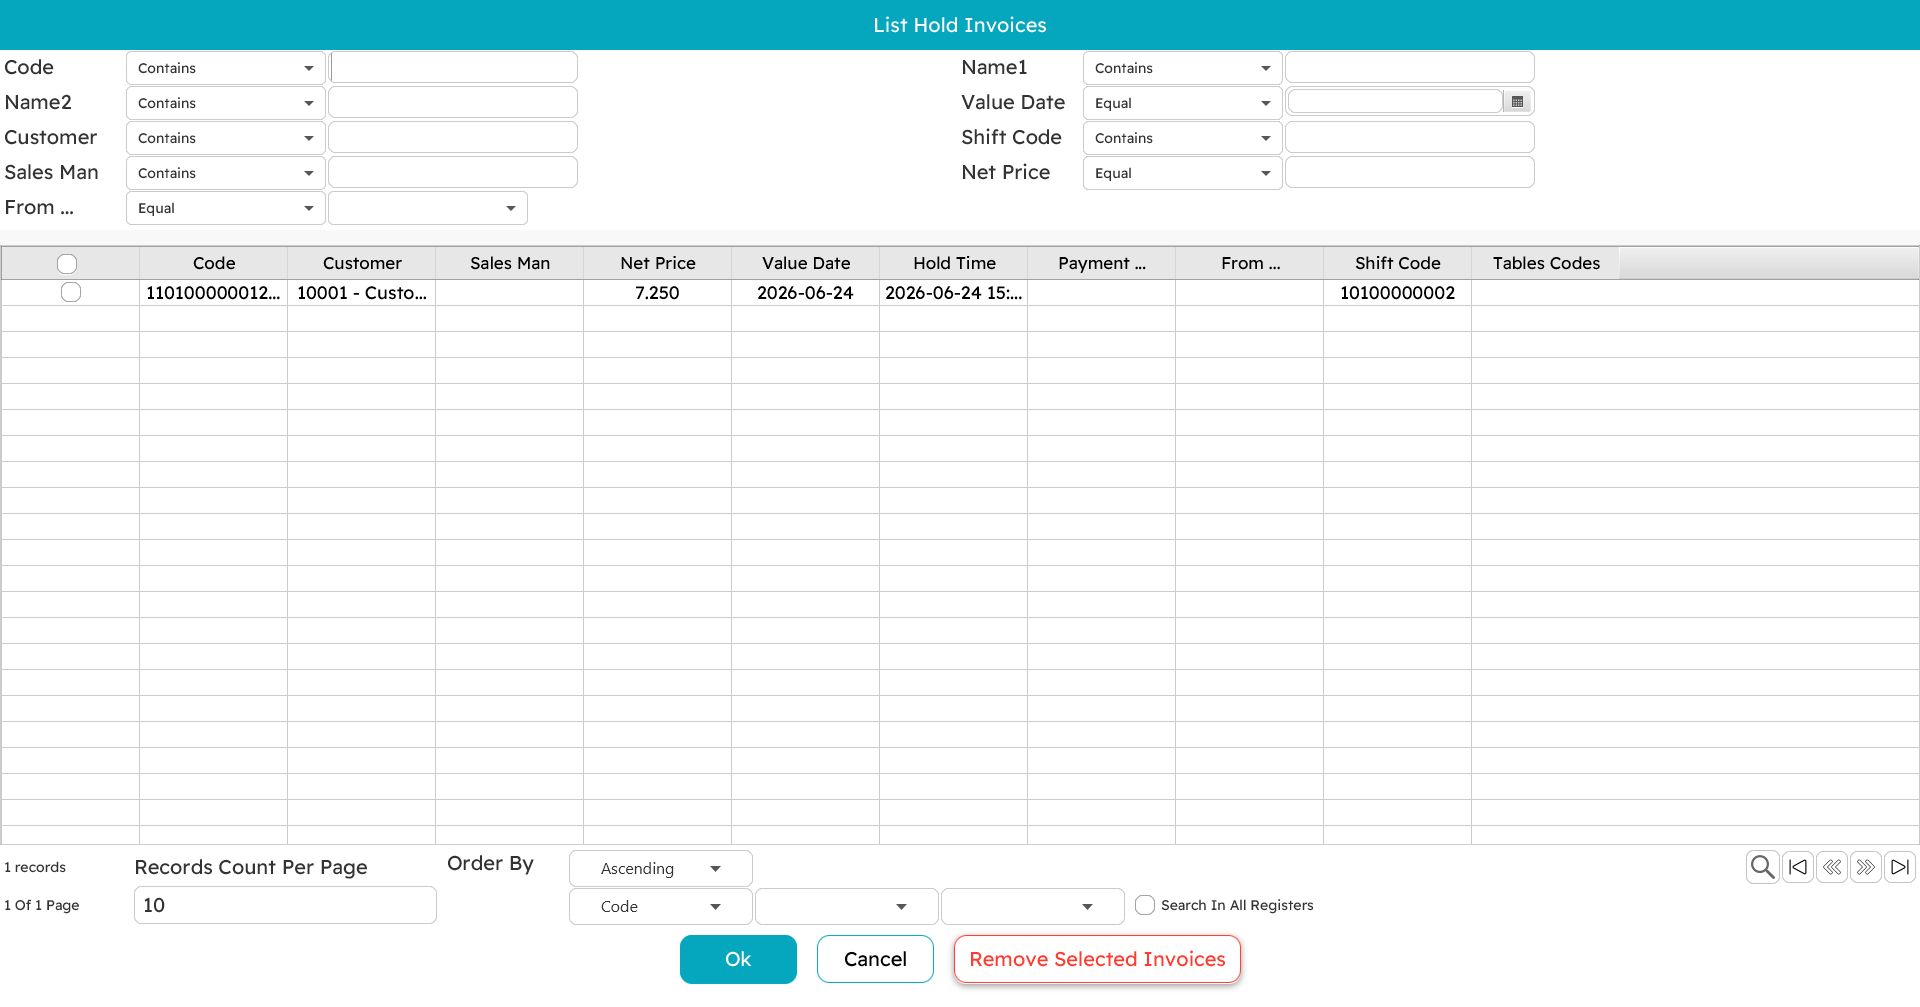
Hold and recall (F6 / Ctrl+F6). If a customer dashes back for a forgotten item, hold the invoice with F6, serve the next person, then recall it with Ctrl+F6 and carry on. Held invoices can even be picked up on another register — see Tables & restaurant for how that works across machines.
Open an existing invoice (Ctrl+F3). Pull up an earlier invoice to review it, reprint it, or use it as the basis for a return.
Ready to pay
When every item and discount is in, the net in the totals panel is what the customer owes. Press F5 to move to the tender screen and take the money — that is the next page, Payment & tender.