
Item Classification Files
Ask two people to organise the same catalogue of five thousand items and you will get two different answers. One will group by what the thing is — raw material, finished goods, spare parts. The other will group by who sells it, or which supplier it comes from, or which shelf it lives on. Both are right, and a real business needs all of them at once, because the purchasing report, the sales commission scheme and the stocktake each slice the catalogue differently.
That is why item classification is not one field. It is a set of small master files, each holding the values for one way of slicing the catalogue, which you then attach to items.
Item Class 1 to 10: the Ten Slots
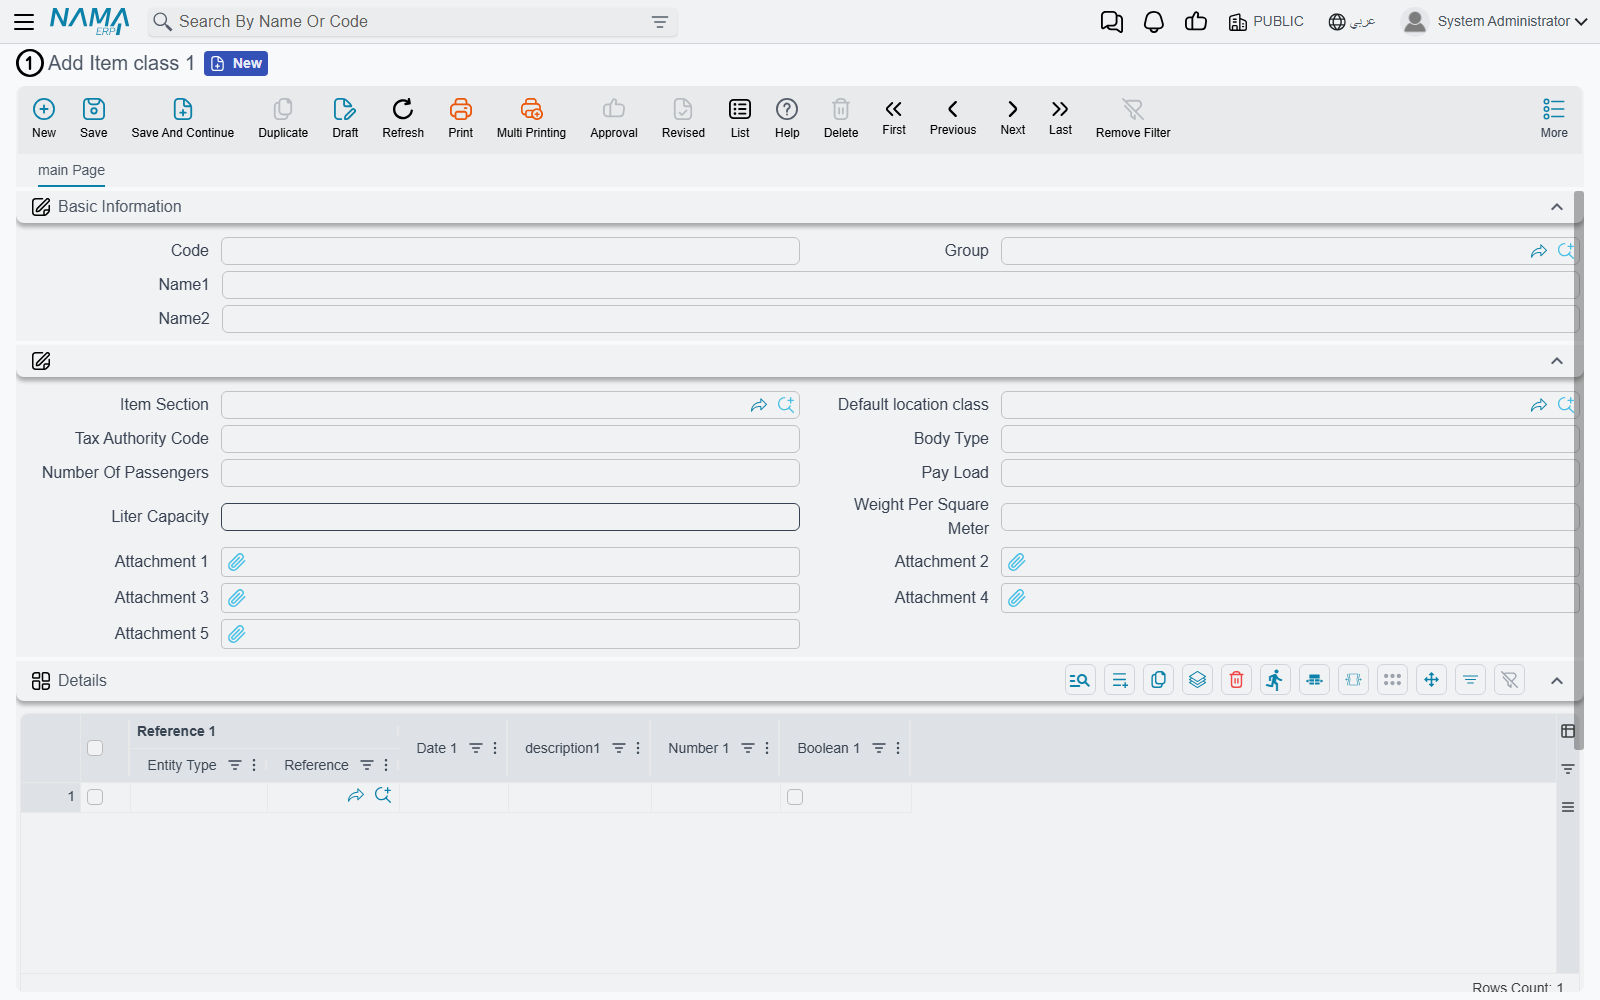
Item Class 1 through Item Class 10 (Inventory → Master Files → Item class 1 … Item class 10) are the main classification mechanism. Ten independent, empty slots, and you decide what each one means.
A pharmaceutical distributor might use Class 1 for therapeutic category, Class 2 for the manufacturer, Class 3 for storage requirement (cold chain or ambient) and leave the rest empty. A clothing retailer might use Class 1 for department, Class 2 for the fabric, Class 3 for the age group. Nothing in the system assumes what any of them mean.
Each slot is its own master file, so the values in Class 1 are separate from those in Class 2, and the ten can be filled independently on any item.
Why the item classes matter more than they look
The ten class slots are what almost everything else in supply chain matches on. When you set up a rule that applies to a group of items rather than one item — pricing rules, storage allocation, item relations, bulk item creation — the selector offered is Class 1–10.
The Multiple Item Creator is the clearest illustration: its generation grid multiplies by Class 1 to Class 10 and nothing else. If you are setting up a new implementation and wondering which classification to invest effort in, this is the answer.
Item Category is superseded
Items also carry Item Category 1 to Item Category 5, fed by the Item Category file (Inventory → Master Files → Item Category). The screen still ships and is still on the menu, so you will find it and existing databases still hold values in it.
The item classes have superseded it. New implementations should classify with Class 1–10 and leave the category slots alone; the classes are what the rules, generators and selectors across the module are built around. Categories appear in a few places as reference fields, but they are not where the system's classification logic lives.
Section and Brand
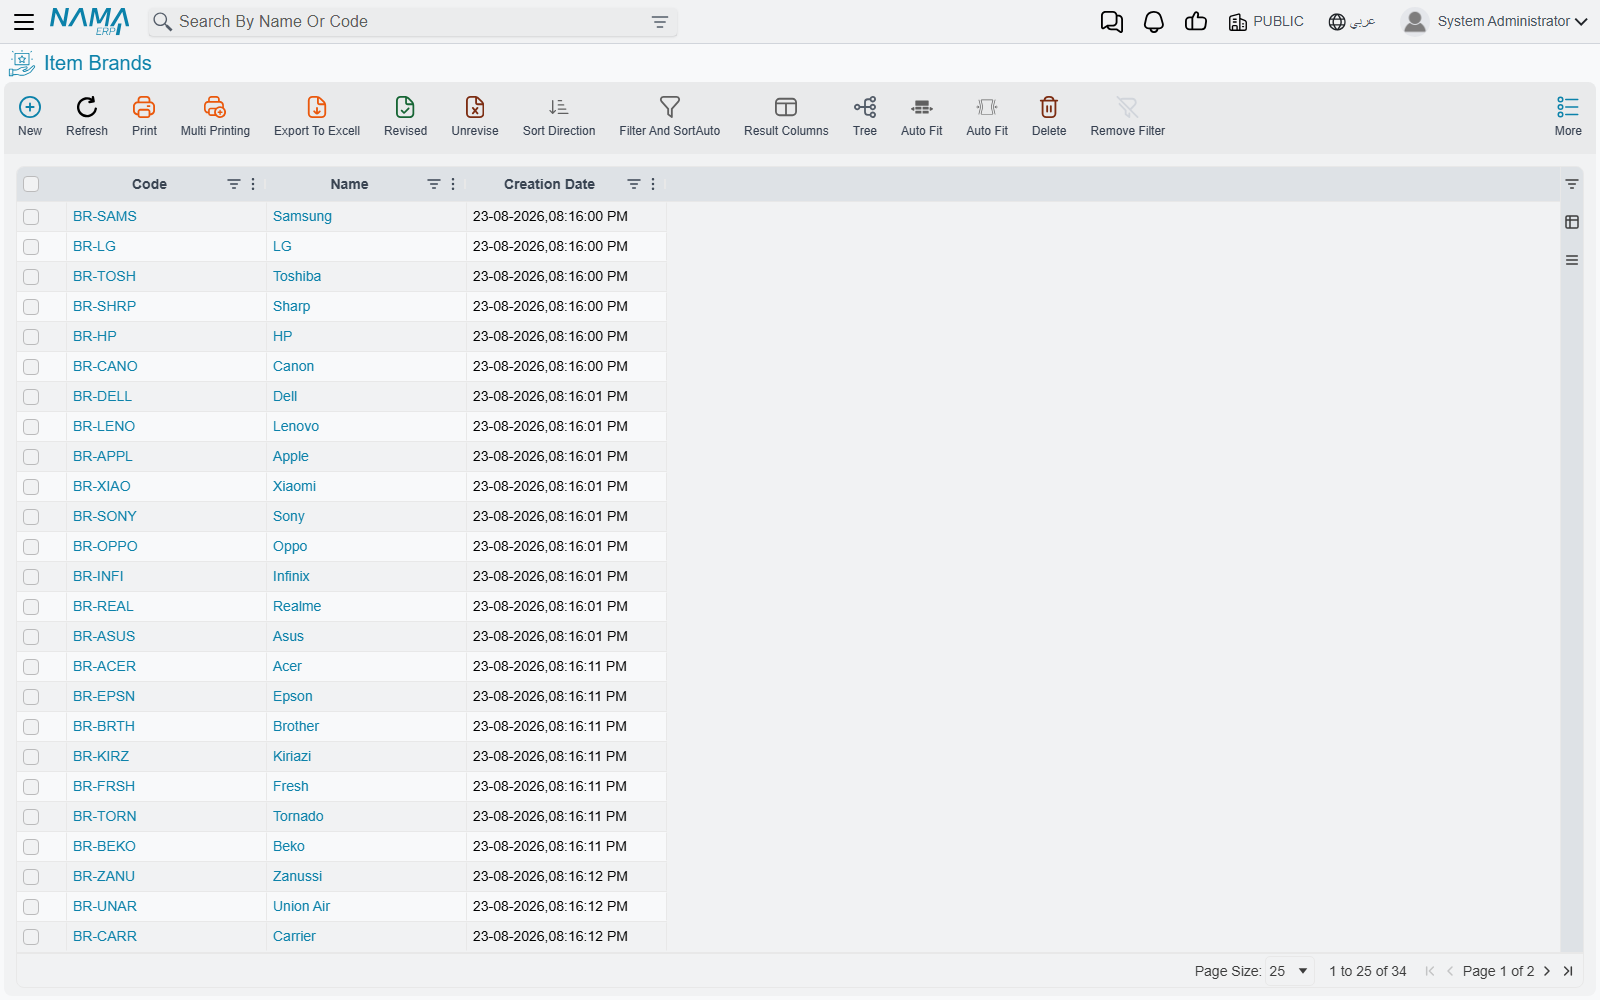
Two more classification files stand outside the numbered slots because they have a fixed meaning.
Item Section (Inventory → Master Files → Item Section) is the broadest grouping — the department or division a product belongs to.
Item Brand (Inventory → Master Files → Item Brand) records the make. It matters more than it sounds: brand is one of the selectors offered when you write a rule that should apply to a range of products, so "everything by this manufacturer" is a single line rather than a list of items.
Colours and Sizes
Some items are not one thing. A shirt is a shirt in eight colours and five sizes, and you do not want forty item cards for it. In Nama ERP a single item can carry colour and size as dimensions: one item, with balances, costs and prices tracked per colour and size combination.
Four master files support this:
| File | What it holds |
|---|---|
| Item Color (Inventory → Master Files → Item Color) | The colours themselves |
| Item Size (Inventory → Master Files → Item Size) | The sizes |
| Item Color Classification (Inventory → Master Files → Item Color Classification) | Groups of colours, for organising a long colour list |
| Item Size Classification (Inventory → Master Files → Item Size Classification) | The same for sizes |
Whether an item uses them at all is decided by the Has Colors and Has Size switches on the item, and how strictly they are enforced comes from the item's configuration profile — see Creating and Maintaining Items.
Item Revision File
Item Revision File (Inventory → Master Files → Item Revision File) defines a revision — a model year, a version, a formulation. Like colour and size, a revision is a dimension an item can be tracked by, so one item can hold stock of the 2025 and 2026 versions separately.
A revision is more than a code. Each one is classified in its own right — it carries an Item Brand, an Item Section, Class 1–10 and Item Category 1–5 — which means a revision can be found and reported on the same way an item can. It also carries its own Colors Lines and Size Lines grids, each of which can nominate a Default. That is how a revision says which colours and sizes it is actually available in, rather than inheriting every colour the item has ever been made in.
Building the Matrix: Size Color Revision Collection
Listing colours and sizes is easy. The tedious part is the combinations, and that is what Size Color Revision Collection (Inventory → Master Files → Size Color Revision Collection) is for.
The screen has two tabs, and the second is where the work happens. On the Size And Colors tab you fill three simple grids — Colors Lines, Size Lines, and Revisions (each naming an Item Revision File). Then you press Generate Item Color Size, and the matrix is built for you: every colour paired with every size, written into the Details grid on the first tab.
Four colours and five sizes become twenty rows without anyone typing twenty rows. You can then prune the combinations that do not exist — if the shirt is not made in extra-large green, delete that row.
The finished collection is attached to items through the Size Color Revision Collection field, which appears on the item card and on both the Item Opening Request and the Multiple Item Creator. So the matrix is defined once and reused across every item that shares it.
Selling a Mix as One Thing: Item Assortment
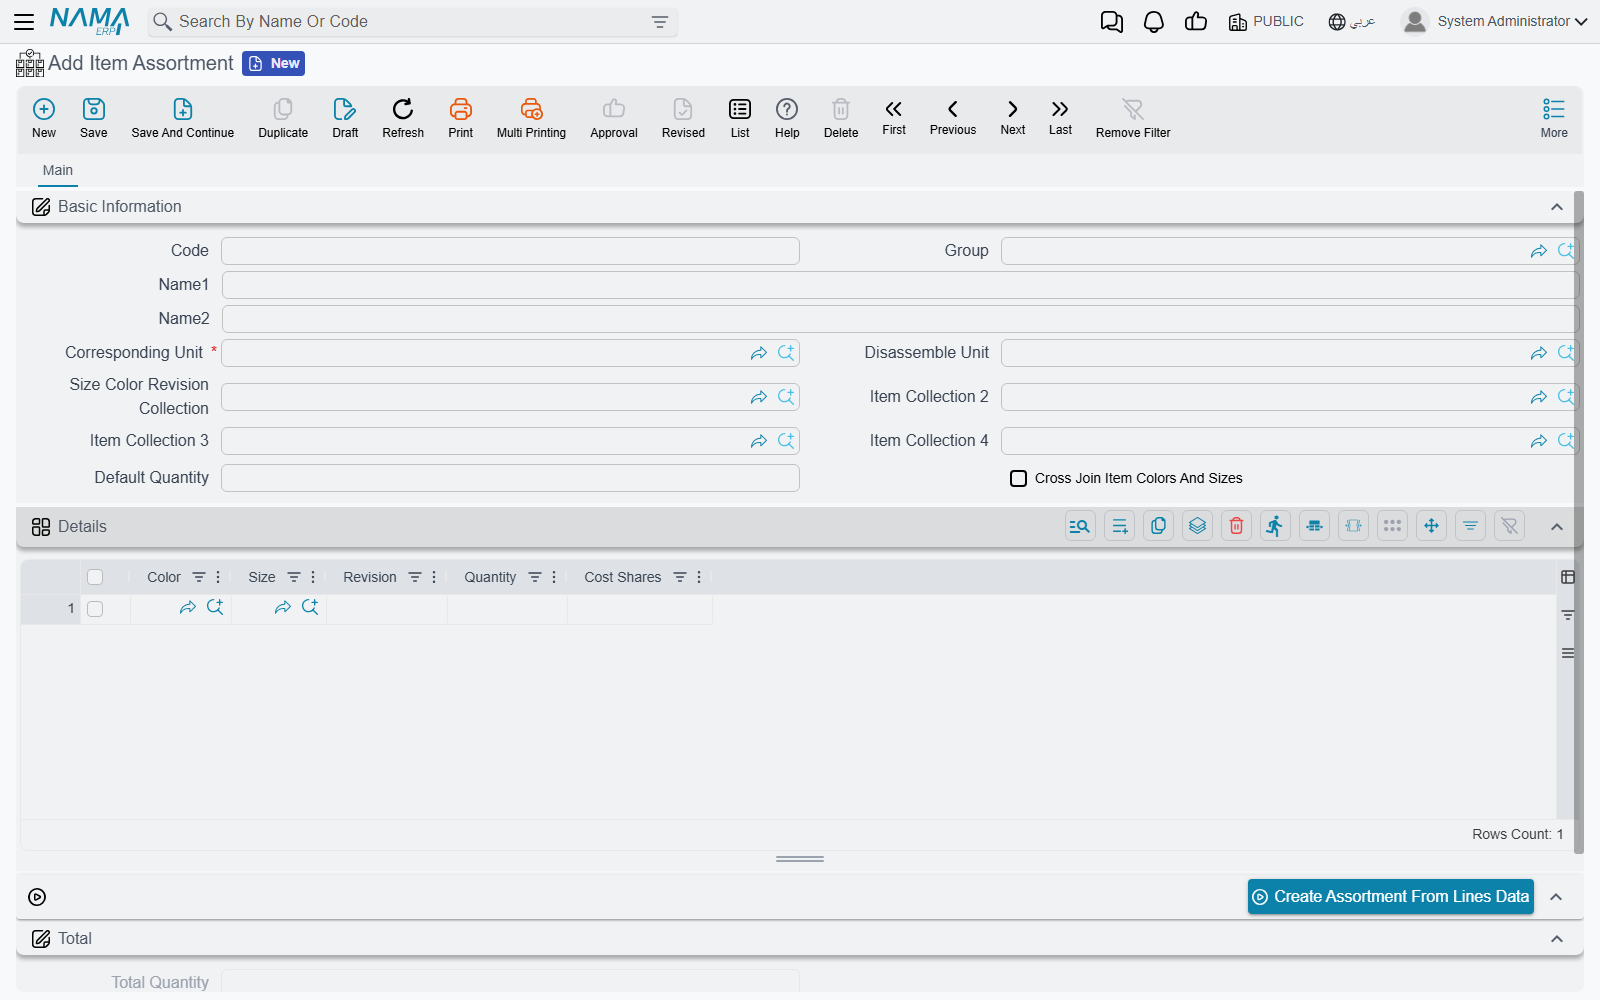
An assortment is a pre-packed mix sold as a single unit. A carton of shirts holding two smalls, three mediums and one large is one thing to the customer and to the price list, but six garments to the warehouse.
Item Assortment (Inventory → Master Files → Item Assortment) describes exactly that. The Details grid lists what is inside — a Color, a Size, a Revision, a Quantity, and Cost Shares for splitting the assortment's cost across its contents — and Total Quantity adds it up.
Two fields in the header make the packing and unpacking work:
- Corresponding Unit is the unit the assortment is traded in — the carton.
- Disassemble Unit is what it breaks down into — the individual garment.
Filling the grid by hand is optional. Set Cross Join Item Colors And Sizes, and the assortment is taken as every combination of the colours and sizes in use on the item. Alternatively Create Assortment From Lines Data builds the contents from the combinations of what you have entered in the lines. The header can reference up to four collections, so an assortment can draw on more than one matrix.
Assortments also appear on the unit grids of the Item Opening Request and the Multiple Item Creator, in a column named The Assortment, so an item can be set up to trade in assortment units from the moment it is created.
Where the Other Classification Files Live
Two files that sound as though they belong here are documented elsewhere, because the menu puts them elsewhere and so does their purpose:
- Material Classification sits under Sales → Master Files and is covered in Specialized Scenarios.
- Season and Update Seasons Document sit under Sales → Prices And Offers. They classify by trading period rather than by product nature, which puts them alongside Pricing, Offers and Coupons rather than here.
Messages you may see
| Message | Why | What to do |
|---|---|---|
| The Record: {0} is used in favourite items grid in pos configuration — «السجل: {0} مستخدم في سطور الأصناف المفضلة في إعدادات نقاط البيع» | You are deleting a classification value — an item class, a category or a brand — that the POS configuration still lists among its favourite items. | Remove it from the favourite items grid in the POS configuration, then delete it. |
| The Record: {0} is used in favourite items grid in pos register {1} — «السجل: {0} مستخدم في سطور الأصناف المفضلة في ماكينة نقاط البيع {1}» | The same block, but the reference is on one POS register rather than on the configuration. The message names the register, and you get one message per register. | Clear it from each register the messages name, then delete the record. |
| You can not add lines to details grid — «لا يمكنك إضافة سطور إلى جريد التفاصيل» | An Item Assortment has Cross Join Item Colors And Sizes switched on, which means the contents are worked out from the item's colours and sizes — and the lines grid was filled by hand as well. | Empty the lines grid and let the cross join build the contents, or switch the cross join off and keep your lines. With the cross join on, Default Qty also becomes required. |
| The item {0} size {1} does not contain an item size file, please fix it before using the cross join assortment {2} — «المقاس {1} للصنف {0} ليس له ملف مقاسات، يجب إضافة ملف مقاسات قبل استخدام تشكيلة ألوان ومقاسات {2}» | A document line trades in an assortment unit built by cross join, and one of the item's sizes was typed as free text instead of pointing at an Item Size file — so there is nothing for the matrix to multiply. | Open the item and replace that size with one taken from the Item Size file. One message is raised per offending size. |
| The item {0} does not have any sizes, you can not use the cross join assortment {1} — «لا يمكنك استخدام تشكيلة ألوان ومقاسات {1} حيث أن الصنف {0} ليس له مقاسات» | The assortment expects sizes and the item has none at all. | Add the sizes to the item, or use an assortment that does not depend on size. |
| The item {0} color {1} does not contain an item color file, please fix it before using the cross join assortment {2} — «اللون {1} للصنف {0} ليس له ملف ألوان، يجب إضافة ملف ألوان قبل استخدام تشكيلة ألوان ومقاسات {2}» | The colour side of the same check: a colour on the item is free text rather than a reference to an Item Color file. | Replace that colour on the item with one from the Item Color file. |
| The item {0} does not have any colors, you can not use the cross join assortment {1} — «لا يمكنك استخدام تشكيلة ألوان ومقاسات {1} حيث أن الصنف {0} ليس له ألوان» | The assortment expects colours and the item carries none. | Add the colours to the item, or use an assortment that does not depend on colour. |